
Here is your exclusive access to our step-by-step instructions 👇
ASSEMBLY
Mudroom
Below you will find step-by-step diagrams showing you how we put all the pieces together.
Refer to our Mudroom Blog Post for Photos
Disclaimer: These dimensions are tailored for our mudroom, and the instructions are meant to inspire your design. Please measure your own space and make it your own 👍.
STEP 1
Build Base
Notes:
All plywood pieces are 3/4” thick
Use pocket jig to attached vertical pieces of horizontal piece
If possible, use screws instead of nails for a more secure fit between horizontal top piece and butcher block top.
STEP 2
Build Cubbies
Notes:
Make sure spacing of vertical pieces are equal distance.
Use pocket jig to attached vertical pieces of horizontal piece
You can build as many or as few horizontal shelves as needed for you.
STEP 3
Purchase Upper Cabinet Shelves

Notes:
We purchased our upper cabinet shelves at Home Depot. Here is the link: Upper Cabinet Shelves
These shelves were pre-assembled and pre-painted.
STEP 4
Assemble Base and Cubbies

Notes:
Attach the base to the wall using metal L brackets.
Secure the cubbies to the wall by screwing them into the wall studs through the bottom horizontal wooden pieces. Also, use metal L brackets to attach the top of the cubbies.
Place both upper cabinets on top of the cubbies and follow the manufacturer's instructions to mount them. If there are no manufacturer's instructions, you can secure the back of the upper cabinet with screws and use L brackets to attach the top to the wooden studs.
STEP 5
Add Wood Trim

Notes:
Use 1-1/2” wood trim, 3/4” thickness.
Get 1-1/2 inch wide wood trim that's 3/4 inch thick. We used pre-primed pieces from Lowes. Here is a link: pre-primed pieces
Attach the trim using wood glue and pin nails with a nail gun. The glue is what really holds the two pieces of wood together. The nails are just there to keep them in place until the glue dries.
Smooth the edges of the trim by sanding them with 120 grit sandpaper to make them softer.
STEP 6
Finished Product

I hope you found this helpful!
Feel free to reach out to ArcolaHomeNow@gmail.com if you have any questions.
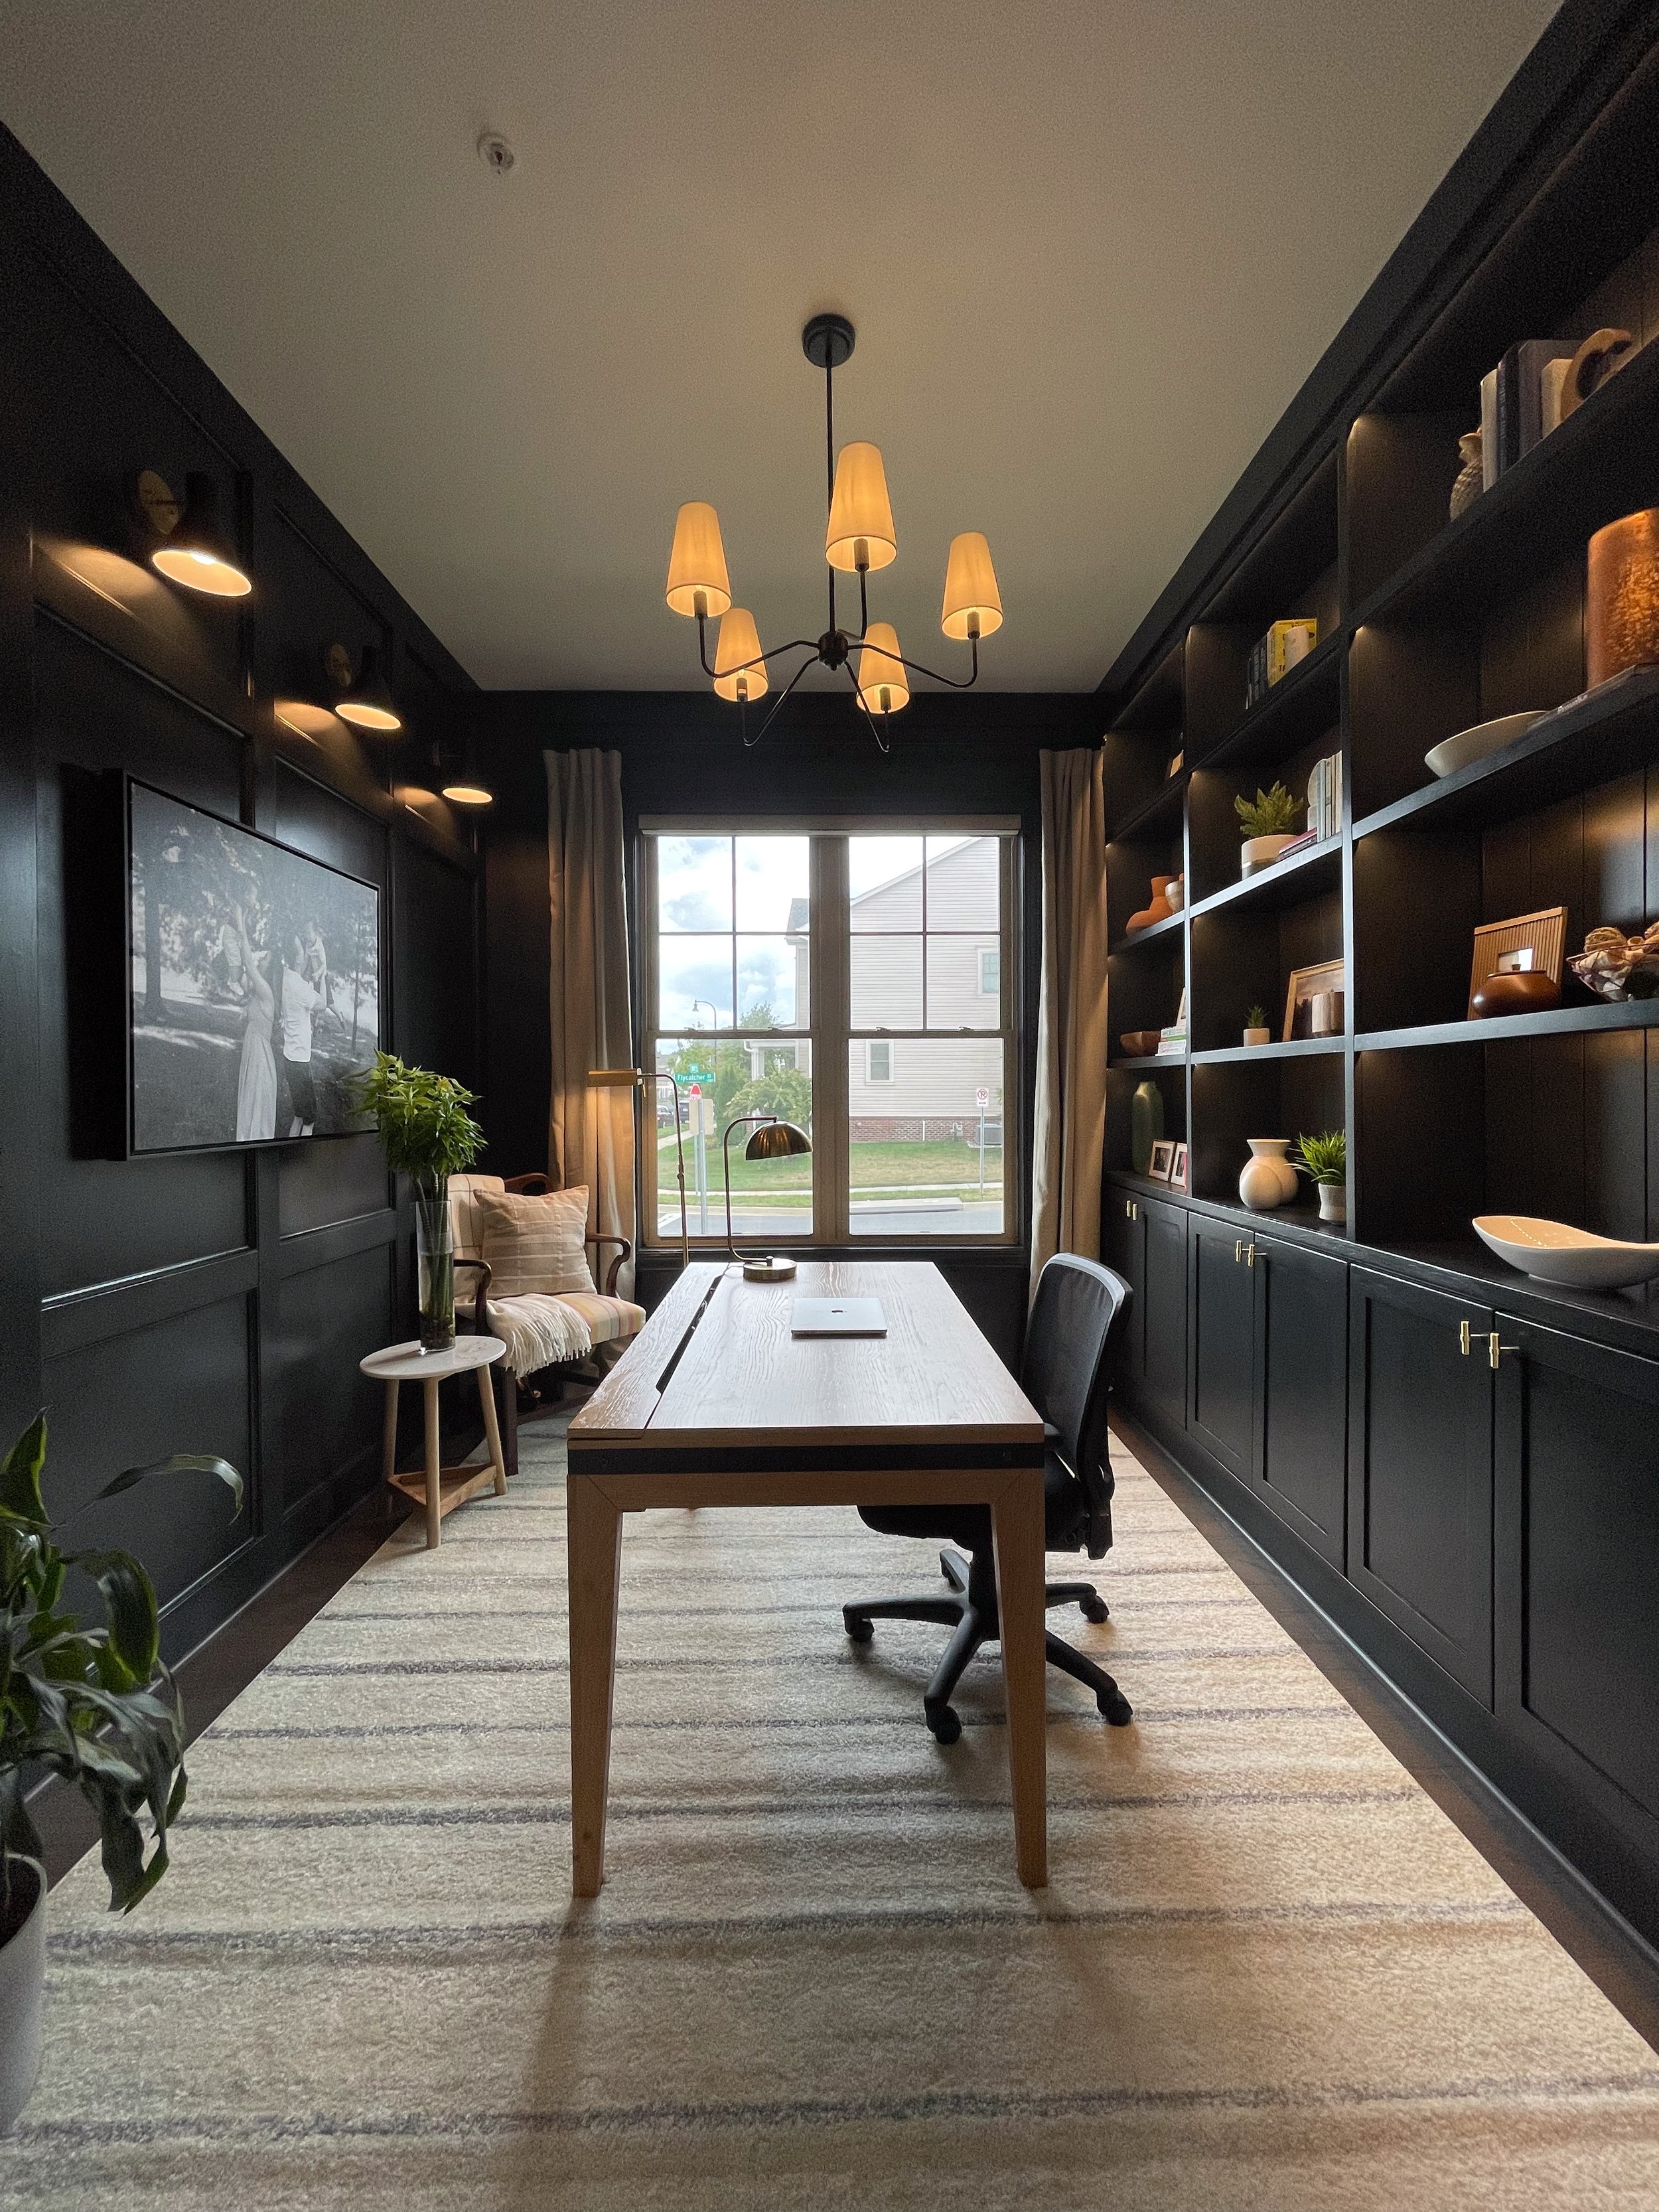
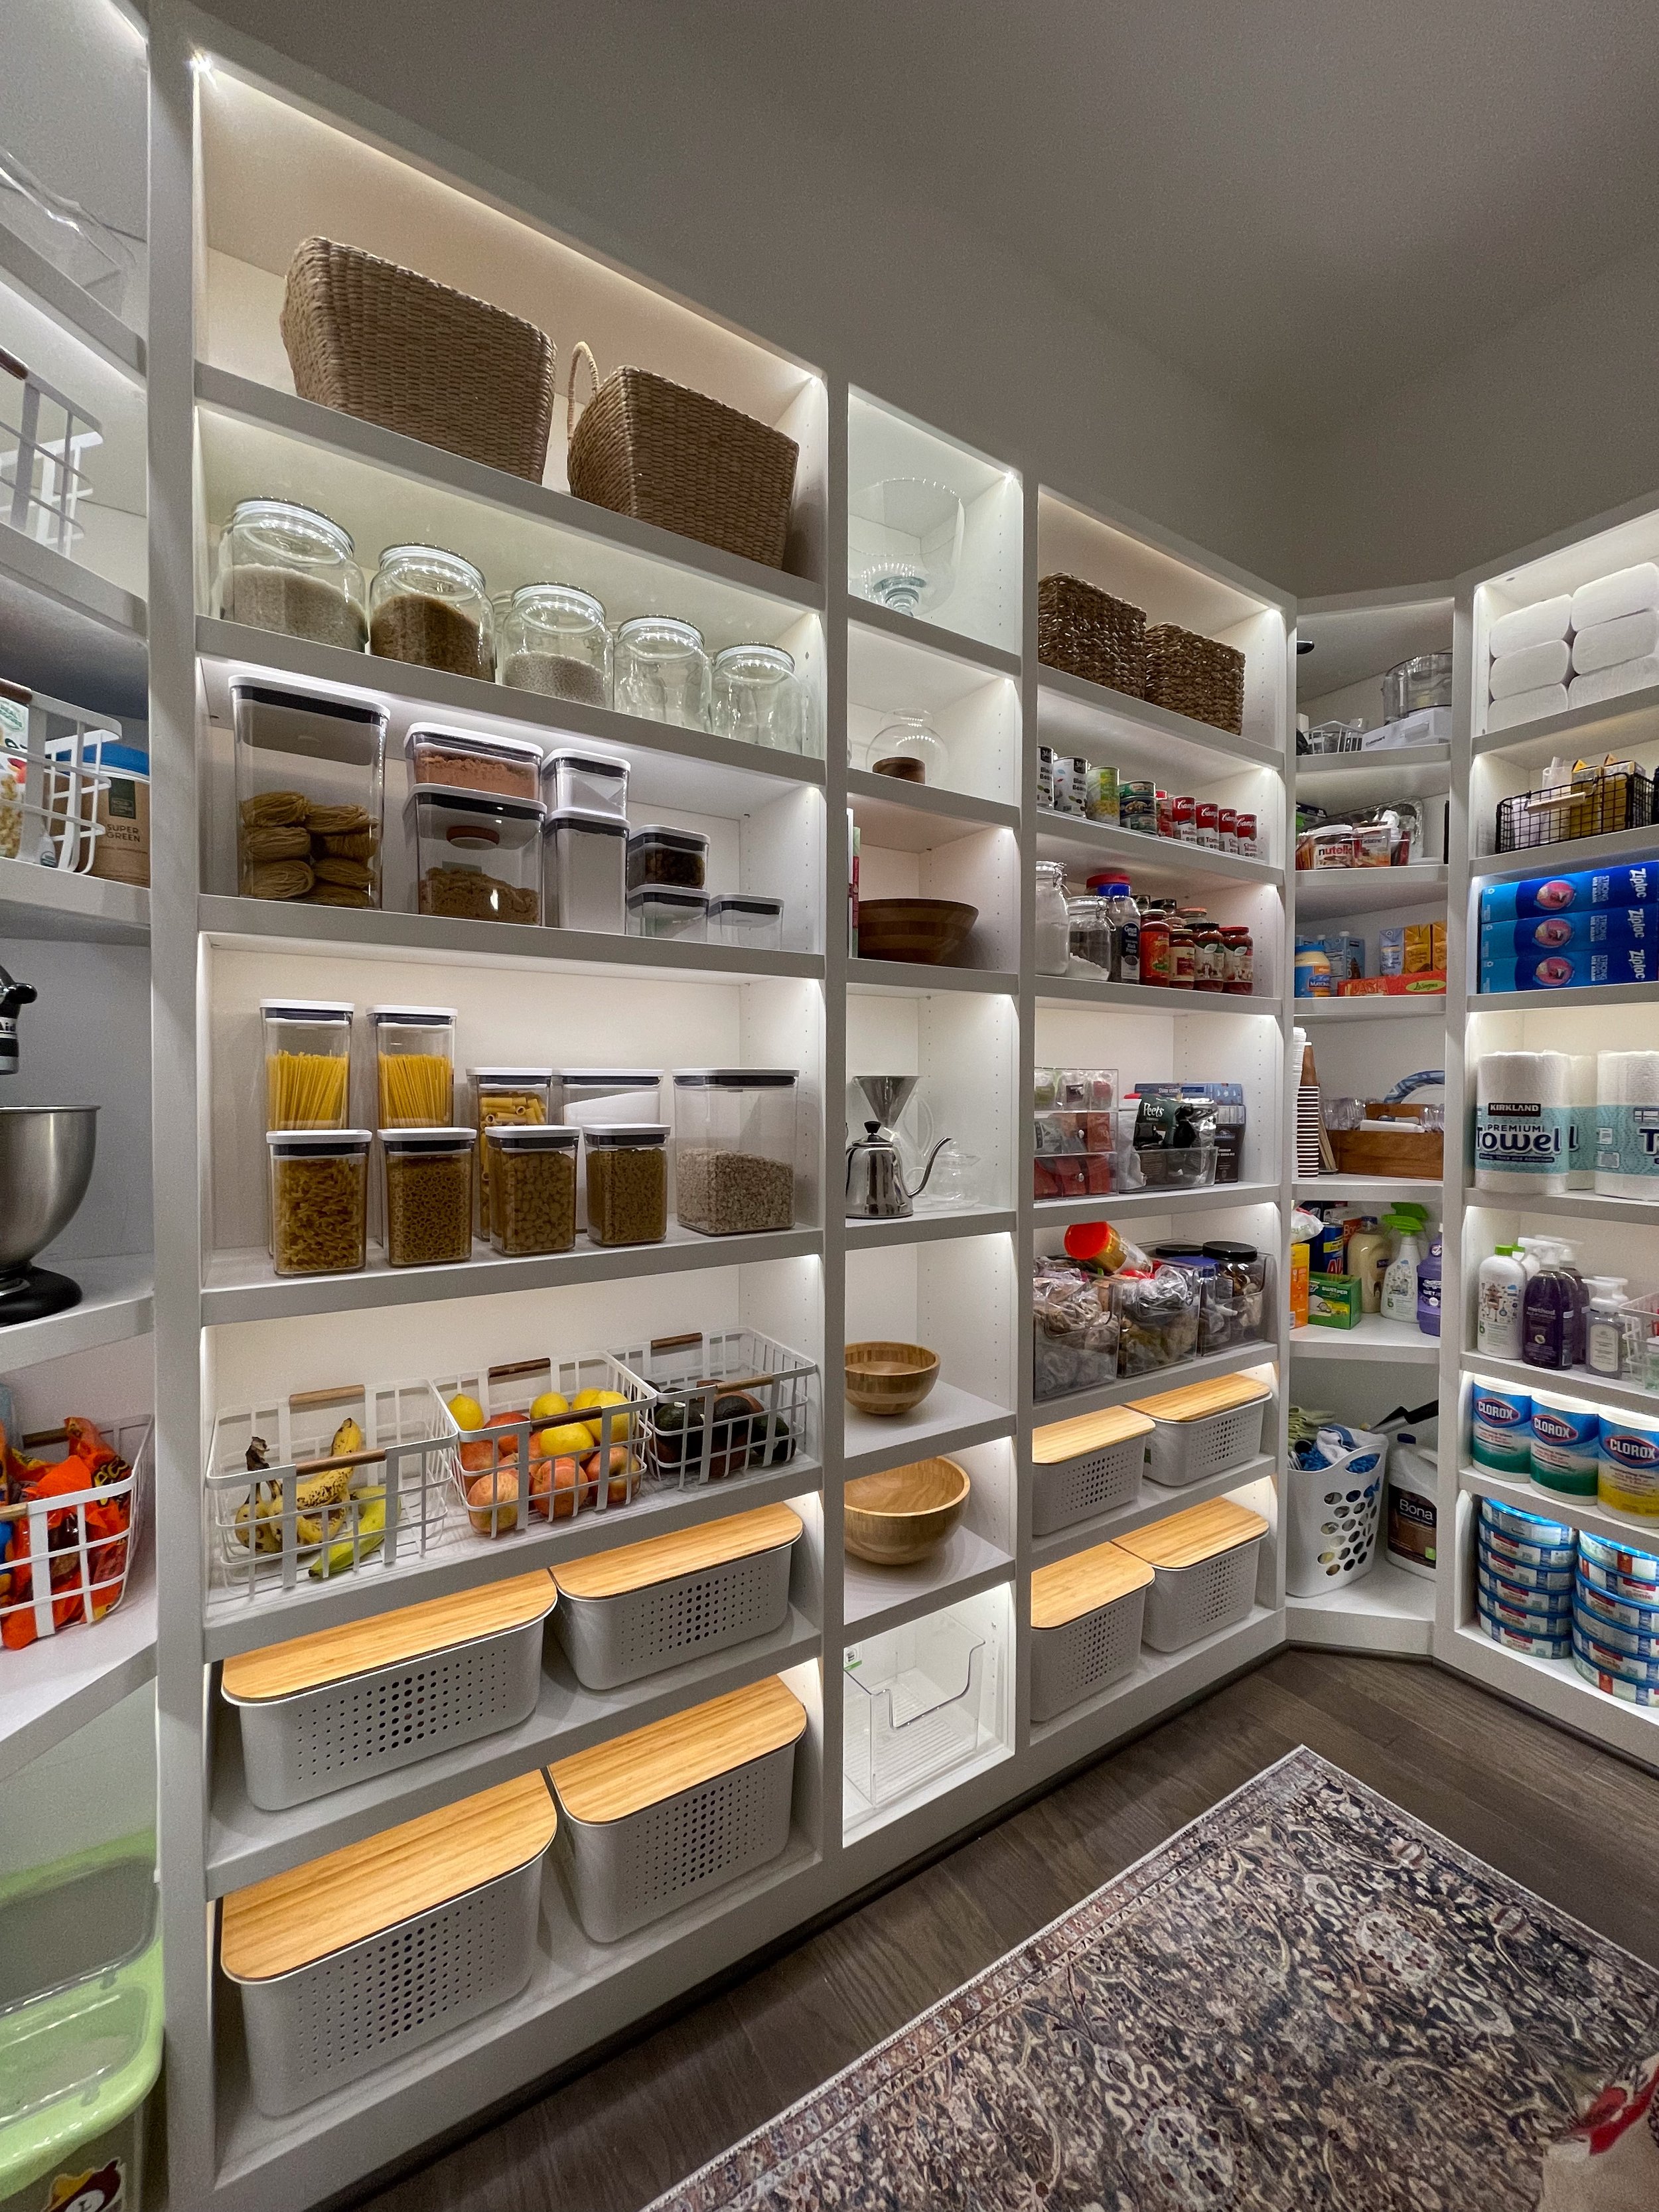
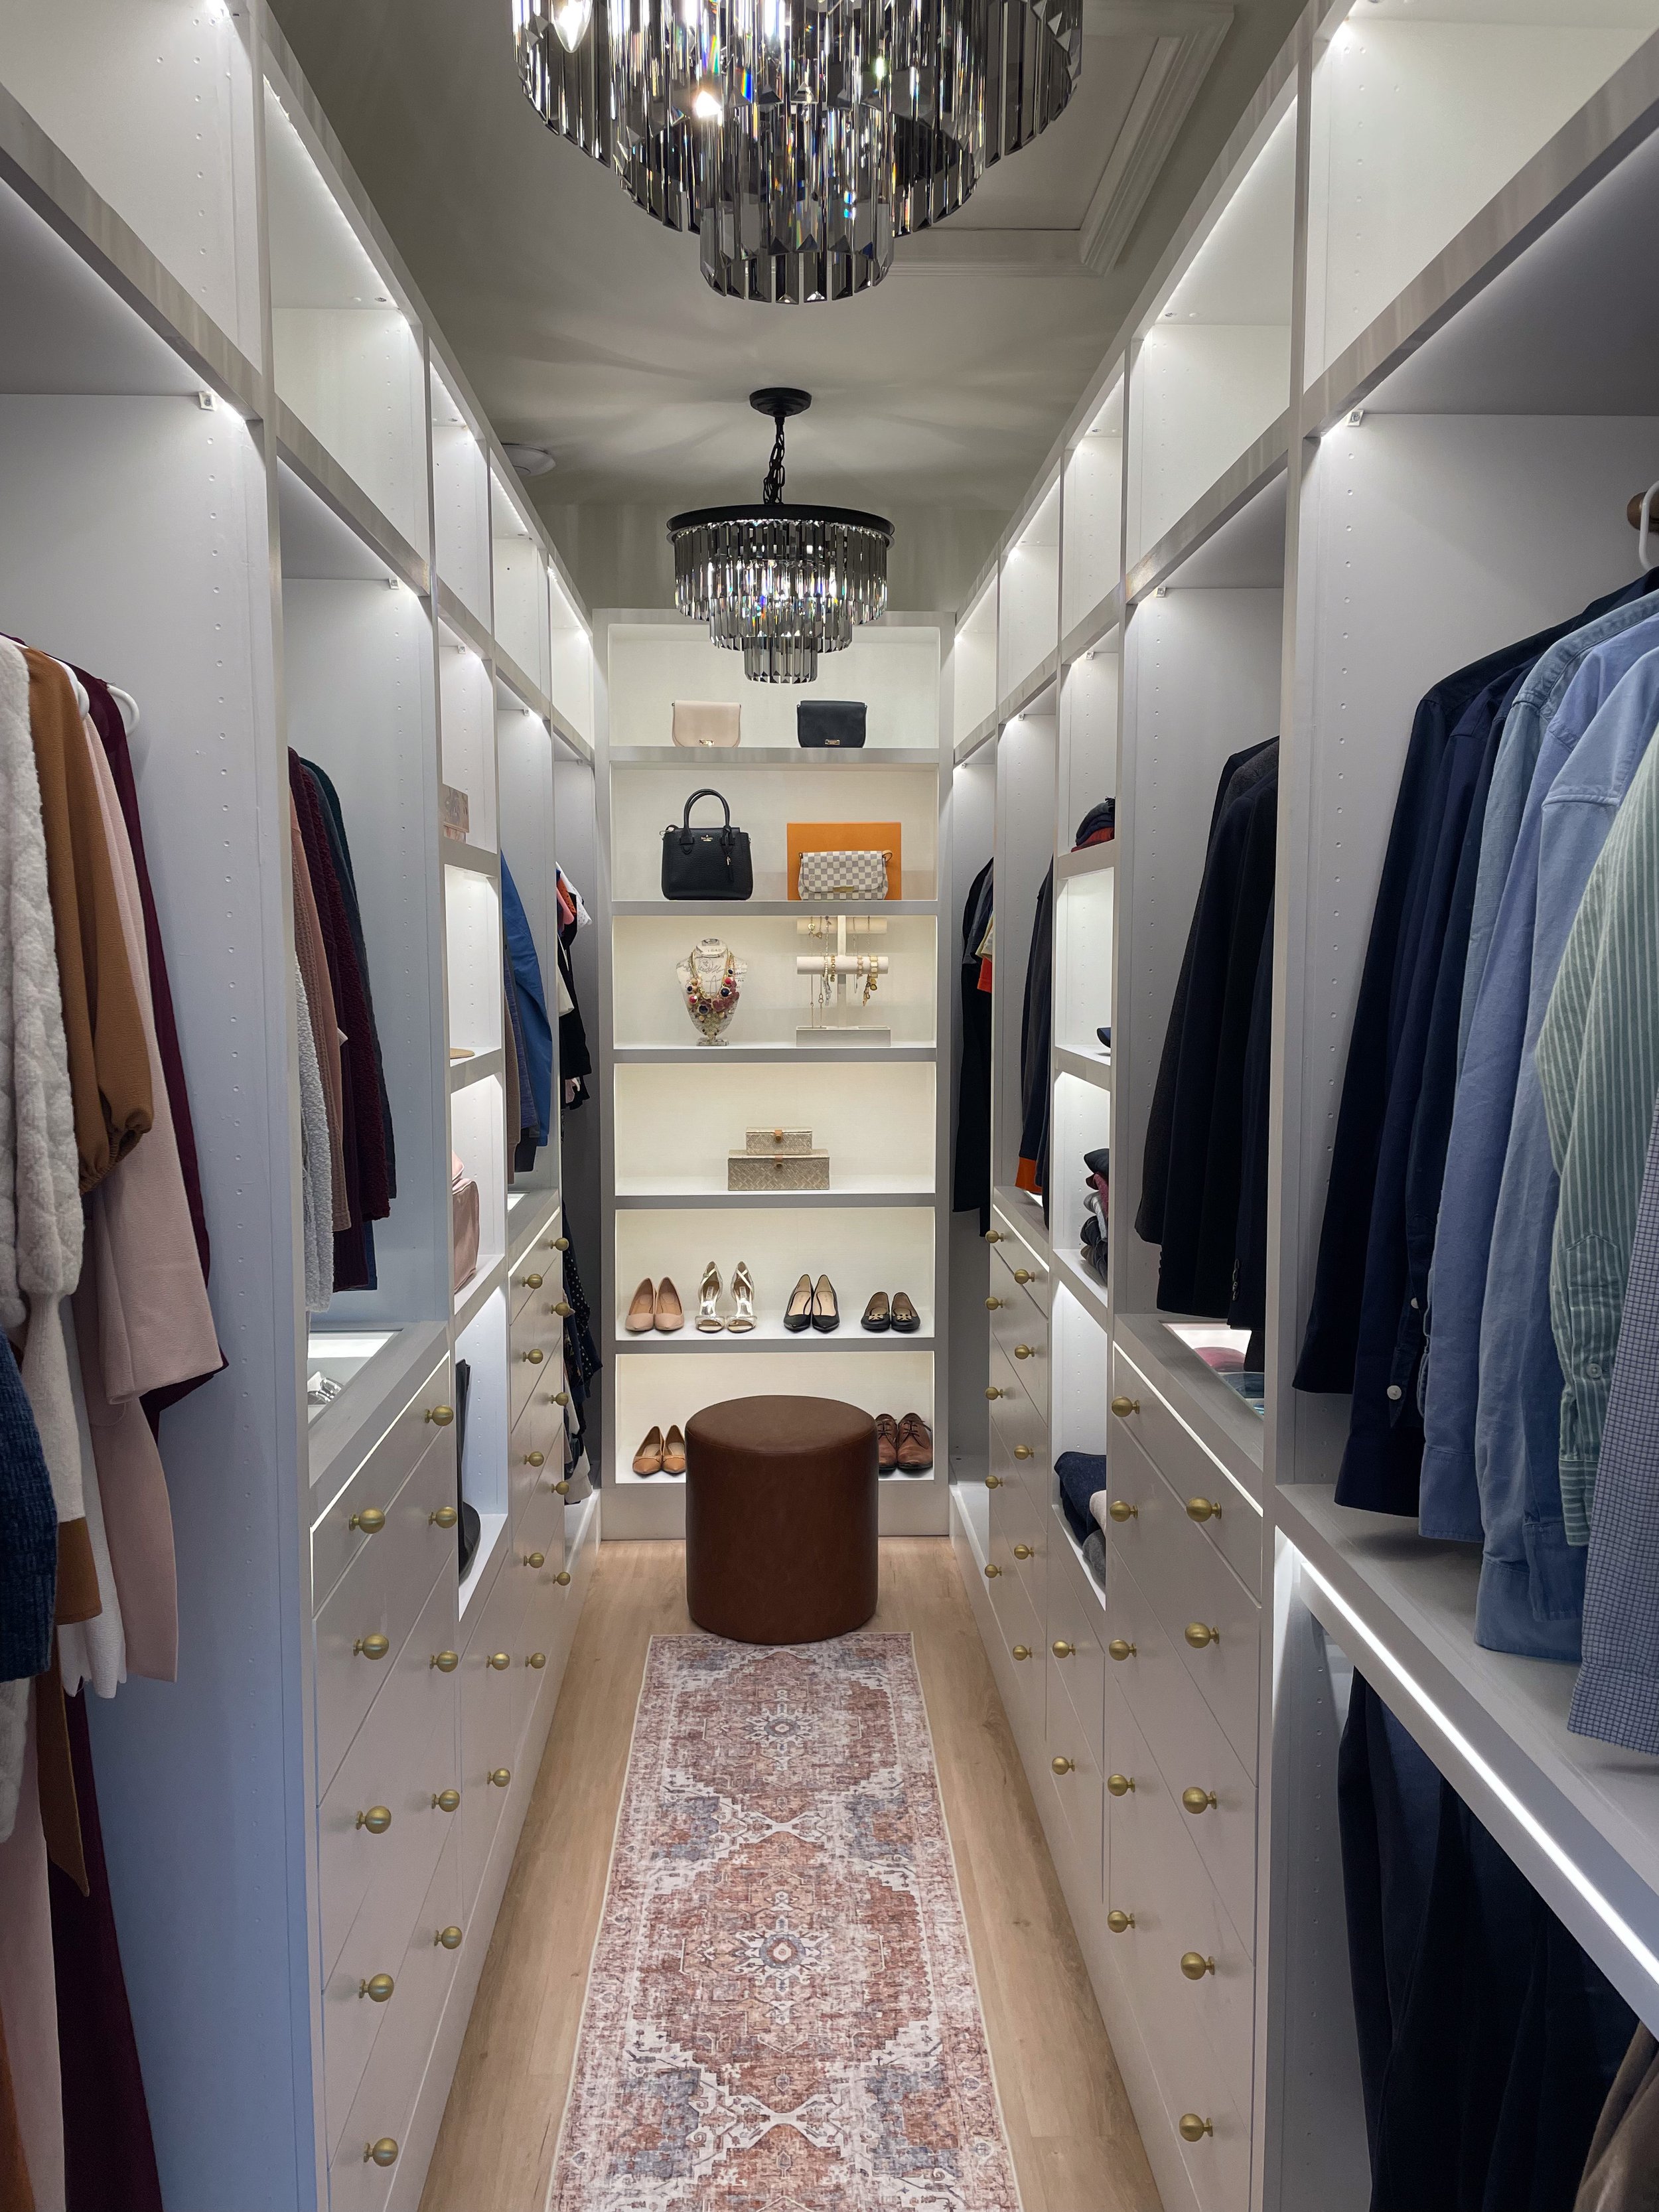
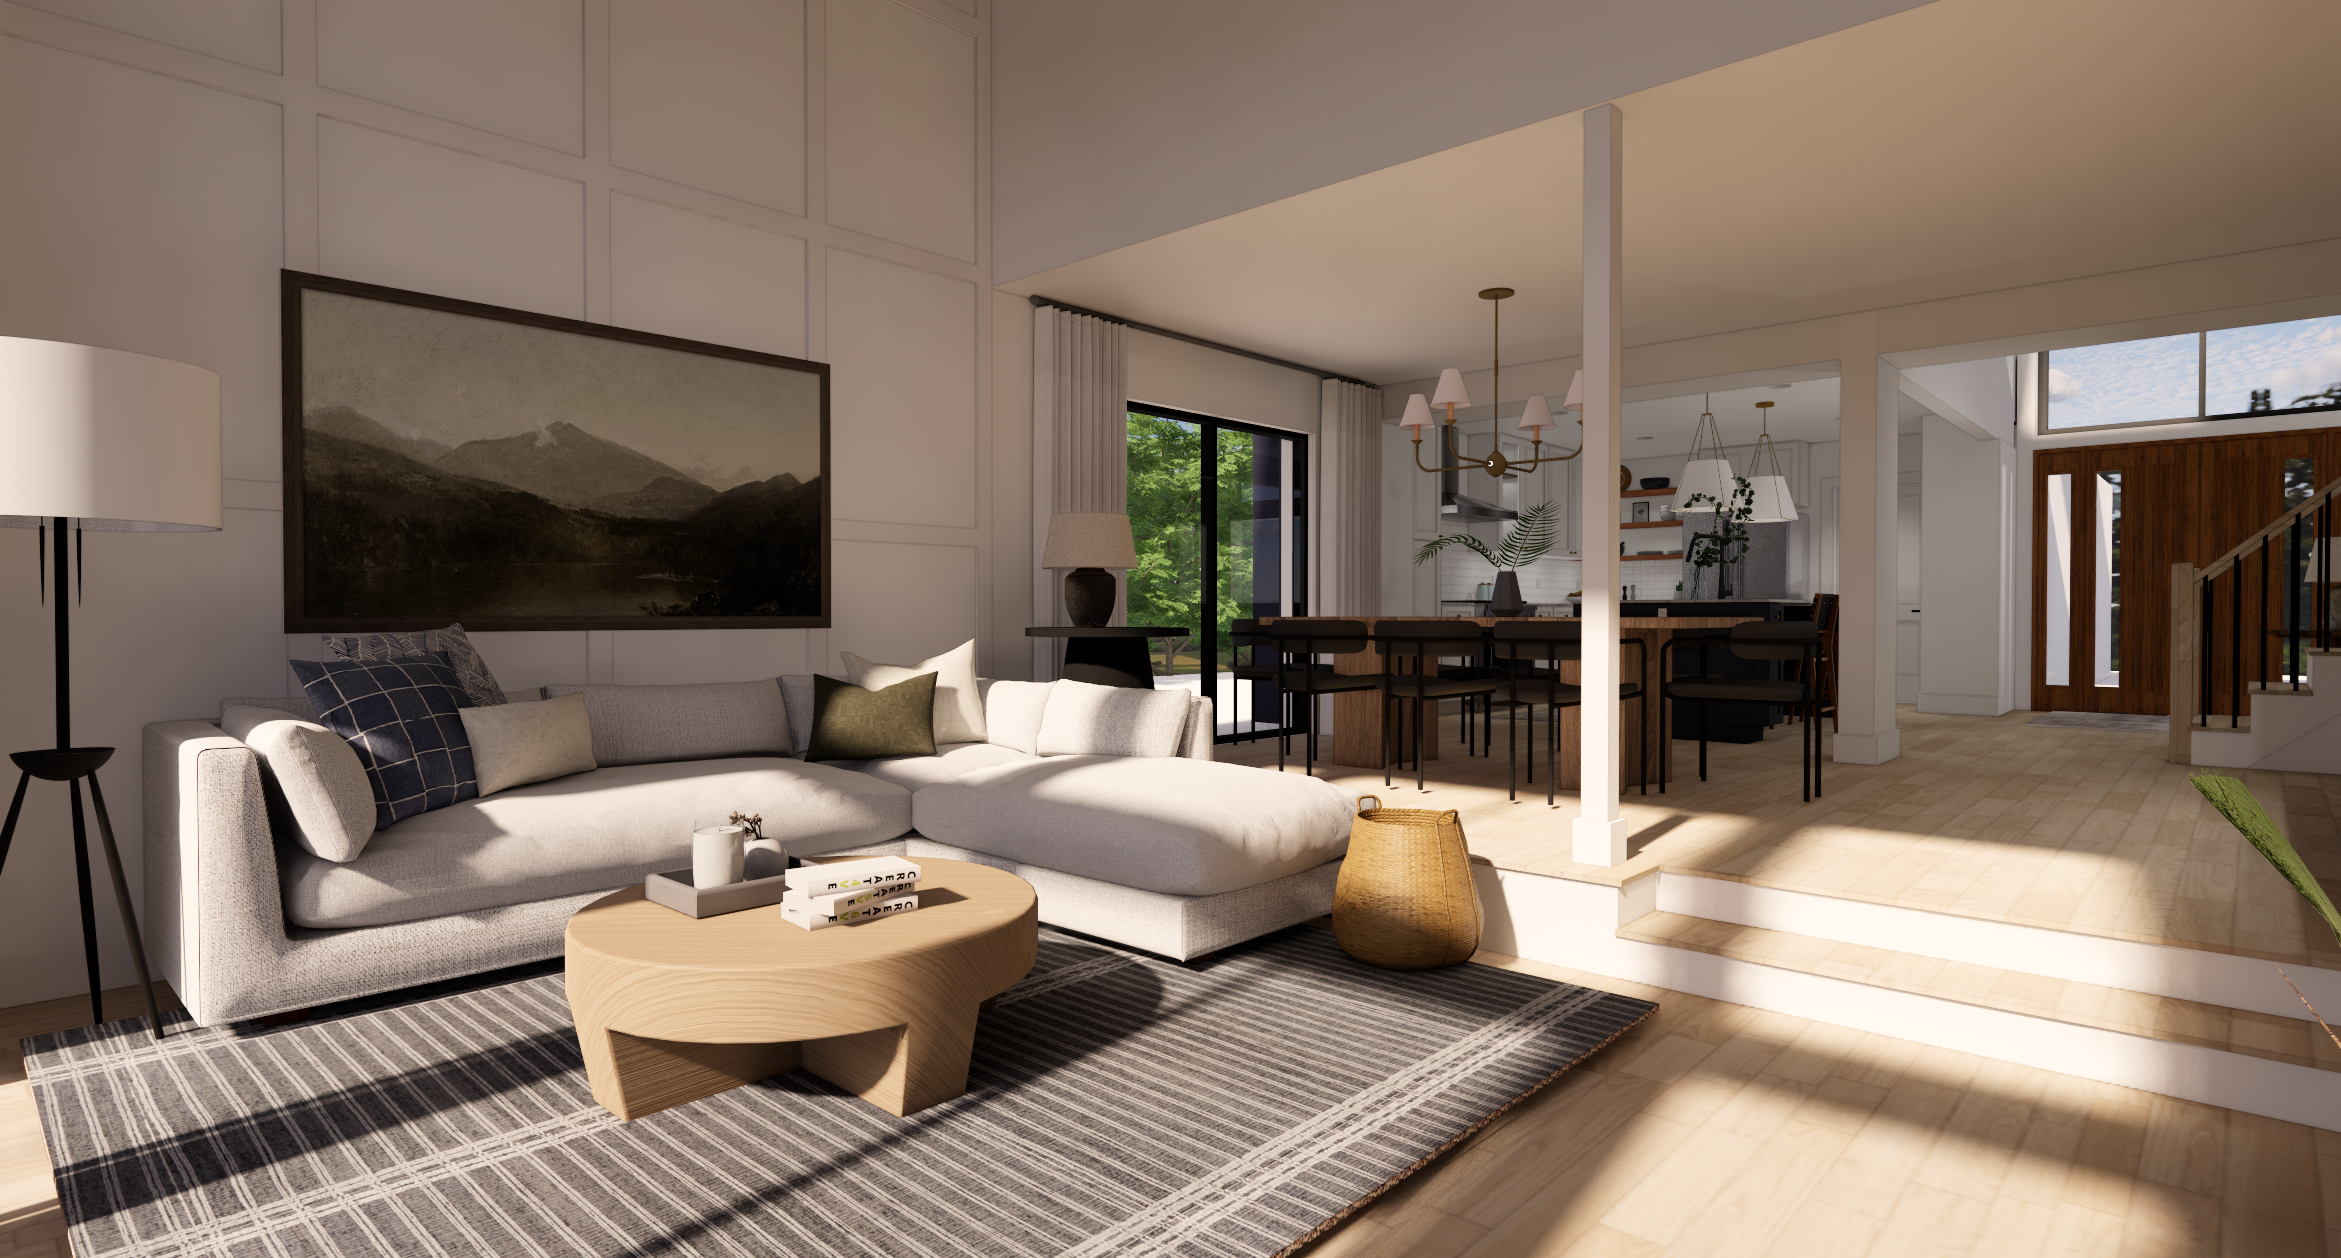
GET INSPIRED
Shop Our Home
Explore our design process from turning a builder grade house into our dream home.

Browse Our Content
Crafting spaces that inspire

Home Design
Fix and Flips

Lifestyle